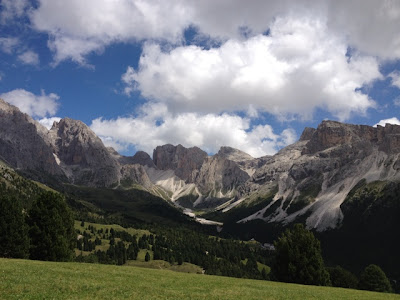
In this quick tutorial, i want to show you how to blend images with the HDR technique, using Pro HDR.
For this, you will need:
- Pro HDR
- Any app that lets you adjust the exposure of your image (Photoshop Express, Snapseed, etc)
 |
| Original picture |
First of all, you use any photo-editing app to underexpose your picture of choice and save it. Then, take the same original picture and overexpose it. Now you've got the same picture twice, once overexposed and once underexposed. You can play around with how much you under- and overexpose them to get a feeling for how this affects the final image. It really depends on what you are trying to achieve with this effect.
 |
| Underexposed picture |
 |
| Overexposed picture |
Then, you open Pro HDR and go to "HDR from Library" and select first the underexposed and then the overexposed photo. Now the app simply blends the two images into a wonderful HDR photo, which you can adjust using different sliders (brightness, saturation, tint, etc). If you wish, you can also add one of the filters that Pro HDR gives you, but i cant really recommend them (even though they are certainly not bad at all). I would still use Camera+ or something similar to add filters.
 |
| The final result after blending them in Pro HDR |

No comments:
Post a Comment